Showing posts with label Family. Show all posts

7.25.2014

Blueberry Picking & Recipe Round Up

 This morning the boys and I went blueberry picking at a farm a couple of miles from our house.

I love this place.

If I could pick a farm to live on, this would be it! They have acres upon acres of strawberries, blueberries, apples, corn, you name it. And one of the things I love most is that not all of the blueberries are together. There's a patch toward the front, then on the other side of an apple orchard there is another patch, all set on rolling hills.


Sometimes you need to step away from everyday life to find inspiration - something I feel I'm lacking lately.

 The flowers, antlers and white clad shed was such a beautiful shot, I had to share it on Instagram.


We picked and picked until our buckets... er, my bucket was full. They ate more than they picked. Good help is hard to find. ;)

So now that we've picked 5 and a half pounds, what shall we do with them?

Here are just a few ideas that caught my eye on Pinterest:


We're off to make some "booby nama muffins" according to Ty.

Have a great weekend!

7.09.2014

My Family Cottage & A Dining Plan


I hope you all had as fun of a 4th as we did! We spent the whole weekend with family and friends at my family's cottage - just a short walk from the beach on Lake Michigan - swimming in the lake, playing in the sand, eating ice cream, and of course watching fireworks over the channel.


My parents bought our cottage when I was 4 & we practically lived out there during the summers. Between the trolley rides, walks to get ice cream, spending countless hours at the beach, and climbing sand dunes, my childhood was filled with adventure. I'm so excited that my boys are now at the ages where they can enjoy these activities as much as I did.

About 5 years ago major water damage all but ruined this wonderful place. During the winter there was an electrical surge that shut off the boiler, causing the pipes to freeze and burst leaving the floors covered in inches of water, frost on every window, and drywall bubbling. There wasn't much we could do to fix it other than gut the inside and remodel, keeping the shell of the house.

I wish I had before photos to share, because we were able to move rooms around creating a more open space that functions better for our family. We lost a bedroom upstairs, but gained one in the basement by removing the second kitchen that was original to the house. We kept the bathroom upstairs, but added in a stackable washer and dryer opposite of the custom vanity to conserve space.


The kitchen and a bedroom swapped spots allowing the kitchen to be up front by the deck. Now we're able to see the channel from the new dining room. When I stand in the "new bedroom" I can't believe a kitchen and dining room used to fit in that space.


Speaking of the dining room, it is in major need of a new table and chairs. Currently the table out there is... old. It's been there since I was a kid, and it's seen better days. We're down to 5 chairs, and more often than not there are more than 5 people at the cottage. Most of the time we eat dinner outside on the deck, but when it's raining or we just need a space to hang out at night, it's nice to have seating for everyone.


My mom has been hesitant, because she didn't want to buy an expensive wood dining set and have it get ruined. Understandable. I mean, we all want the Pottery Barn table, but we don't want anyone to eat at it. Am I right?!

Insert Ana White's DIY Farmhouse Table.

Husky Farmhouse Table

So lovely, and so similar to this table from Pottery Barn, but built at a fraction of the price.
Keaton Extending Dining Table - French White 
 After having made the vanity for our half-bathroom, I really think this is something I can handle. I shared my design idea and plans with my mom, then ordered the legs from Osborne Wood right away. They'll be here this afternoon -- super fast shipping if you ever need some legs. ;)

I'm planning to paint the legs and apron Linen White by Benjamin Moore to coordinate with the cabinets. They'll be distressed and sealed with a clear wax. The top will also be distressed to hide any abuse it may be put through, but I promised my mom we would lacquer the heck out of it in an attempt to protect it. I'm thinking a darker gray driftwood stain would look nice. The floors are natural hickory and have subtle gray tones in them, and the ceiling is a pine tongue and groove, so I'm not looking to match that.

As for the chairs, I picked up a set of 2 wicker parsons chairs that I'm planning to paint. I'm looking for 4 or 6 more chairs on Craig's List and in thrift shops that I can paint as well. There isn't much color in this space, so my plan is to paint 2 chairs one color, 2 chairs another color, etc. to liven up the room. Something like this:
source
 We have the cutest built in bench in the entry that's painted Caliente by Benjamin Moore, so that will be the red I use for 2 of the chairs to keep a bit of consistency throughout the cottage.


That's also the same color we used on the vanity in the basement bathroom, so it only makes sense to continue it. 


Speaking of that entry bench, did you notice the fantastic paisley fabric on the cushion? I'll be pulling the rest of the colors from that fabric. I'm thinking two red chairs, two yellow chairs, two blue chairs, and possibly two green (if we have room). Or maybe I'll paint each chair a different color; 1 red, 1 orange, 1 yellow, 1 green, 1 blue and... maybe 2 blue? I really depends on the chairs I find, and how big the table ends up being.


I'm excited to get started, and I can't wait until it's all done! I know it will really add character to the dining room and help with color flow throughout the whole cottage.

And in case you think I forgot, I don't have any major updates on my mom's kitchen renovation. The coffee bar is almost complete, and the cup pulls have been installed, but the knobs I ordered look a lot more minty in person than the aqua we are going for. I'm working on returning those now, and either exchanging for a new color, or looking at an entirely different knob.  I also received the fabric for the window valance late last week. I hope to get started on that soon, with a tutorial on how to make a simple and modern valance. Stay tuned! ;)

Linking Up To:
Everyday Enchanting - Enchanting Inspiration Link Party No. 6

6.30.2014

Client Kitchen Updates: Design Plan

For years now my mom has been wanting to change a few things around in her kitchen to brighten it up and make it feel a little bigger. Due to the location of the kitchen, without major renovations, there's really no way to make it bigger or change the cabinet layout. It's a galley style kitchen, and that's how it shall stay.

Her home is very unique & pretty well known in our area. After all, there aren't many pieces of property on 7 acres in the city with horses. The house was built in 1949, but before going up for sale, the previous owners updated it. In my opinion, they chose less than stellar materials and finishes. Luckily my mom has been on a mission to restore her home to fit the original Colonial style, with modern amenities.

Below is a design board I quickly put together to give my mom and her builder an idea of the direction I was suggesting we head in:


She has these jars in red, aqua, and white, and loves the color combination -so that was our starting point.  The existing cabinets are cherry, and while painting them would be the easiest way to brighten the space, we've all decided that's not the best idea for wear-ability.  From there of course I jumped into fabrics. This kitchen has a gigantic window (we're talking 7 feet wide!) over the sink that looks into the backyard at the horses, chickens, and sometimes cows that take up residence behind her house. That was the only opportunity to add in some great color and pattern, so I ran with it.

For a classic element, we chose a subway tile back splash - white, with soft gray grout. The current back splash is a 3" extension of the dark taupe Corian counter tops, and painted above that. Pretty blah.

The counter tops will change to a quartz that is reminiscent of granite. After using quartz in our half-bathroom, I recommend it to everyone! No maintenance and a great look. One of my favorite additions to this kitchen is the white farmhouse sink that will be under-mounted into the quartz. A bright chrome bridge style faucet will be installed for a little glitz along with a hot water tap and a garbage disposal button for a clean look.

The current hardware is a rustic brown (not even bronze), that just blends in with the cabinets. Hardware is like jewelry for your cabinets, and you don't always want to wear jewelry that just fades into the background, do you? So we're kicking those up a notch with some chrome cup pulls on the drawers and some sort of blue knobs on the doors.

One major renovation taking place is the removal of the wine hutch. This cabinet was just taking up space in my mom's kitchen, since she's not a big wine drinker. There was also a small sink here, just feet from the main sink. To me, it didn't really make sense. That has been removed, and in its place will be a custom coffee bar, complete with a pot-filler faucet to keep the tank of her Keurig full conveniently, and drawers built for k-cups. This will be painted white.

After talking with her builder, he just happened to have some time to quickly fit in her kitchen while we were in Alaska. It's not complete just yet, but I'm amazed at how much they got done in a little more than a week! I can't wait to show you all the full reveal. Anytime I'm there we stand in the kitchen and say how much we love it. :) ...and it's still under construction!

Linking Up To:
Everyday Enchanting - Enchanting Inspiration Link Party No. 6

6.25.2014

Seven Scrumptious Ways to Enjoy Strawberries


It's berry season here in Michigan, and I couldn't be more excited! One of my favorite things to do with the boys in the summer is pick fresh berries - strawberries, raspberries, and blueberries - we pick 'em all!

Last year we picked at a farm right by our house, which was convenient, but the berries weren't the sweetest. This year we drove north a bit and found a fun farm with the juiciest strawberries, ice cream, and a small petting zoo.


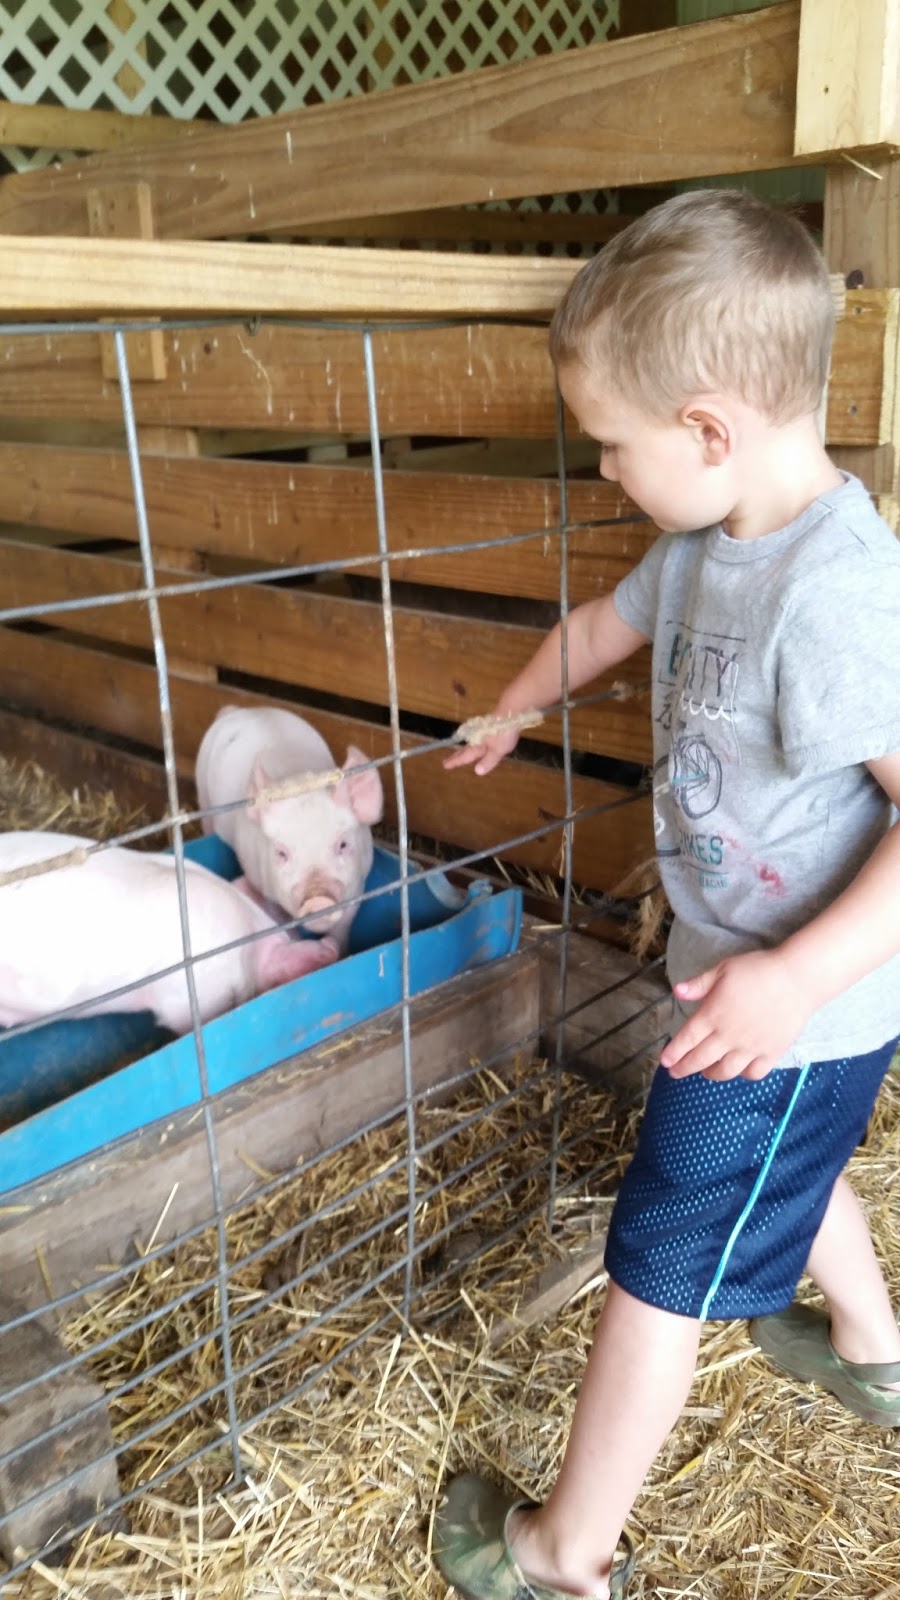
The boys were each given a small basket to put their picked strawberries in, then they added theirs into my big basket. Matt, of course, was a big helper! He's 4, but for the majority of his life, he has turned play time into work time. I blame his dad. ;) It's a great quality to have though, especially in this situation. He emptied his basket into mine 4 or 5 times! Ty had fun too, although he didn't pick as many as the worker bee.  In the end, we picked 11 pounds of fresh strawberries. Afterwards we ate ice cream for lunch (don't judge!) and loved on the baby pigs, sheep, goats, cow and bunny a little, before heading home.


That afternoon I got to work hulling and slicing strawberries in preparation for recipes that I had in my head. I've compiled a few recipes for you all to enjoy!

Recipe
Freezing Strawberries
   
Strawberry Pie
I imagine you just dip in yogurt and freeze.

Strawberry Shortcake Bars
Easy Freezer Jam
Strawberry Mojitos
I personally can't wait to make a mojito and drink is with a slice of fresh strawberry pie!
Happy hump day!

6.01.2014

Where We've Been


You may have been wondering where I'VE been lately. I seem to have gone missing after my half-bathroom reveal, but no worries -- I'm still here!  Life has been busy, and this little hobby takes a back seat when that happens.  I've been working on a client project, helping my mom choose a few new finishes and fixtures for her kitchen update, and last week was M's last day of 2-day Preschool. All that, on top of a whirlwind trip to New York for my cousin's bridal shower, beginning a Whole 30, planting our vegetable garden, and working outside with my flowers has made for a busy May. More on all of that later... hopefully.


For now, this post is about where WE'VE been! "We" being my little family.

Growing up, travel played an important role in my life and husband's life.  As a kid, I took countless road trips with my family, and specifically my mom. From visiting relatives all over the country (and sometimes internationally), to traveling state-to-state showing my Arabian & Half-Arabian horses, and enjoying some relaxing (aaaand sometimes crazy fun!) tropical vacations and cruises with friends, I had experiences that are irreplaceable and unforgettable.

My husband's travel record is nothing short of fascinating either.  As a teenager, his dad had an exchange student from Denmark who he's stayed in close contact with. He and his family are such incredibly interesting people who make you feel so comfortable when they come to visit. They operate a mission and travel quite a bit, living in different countries. My in-laws have visited their friends several times over the years, a couple of trips were when my husband was younger. He got to experience so much over in Europe, including seeing the Berlin Wall still standing, and after the fall. He visited and learned about Concentration Camps which undeniably had a impact on him. His parents visited a few years ago while their friends lived in Cypress, and rode camels in the desert. How fun!

So needless to say, we are trying to continue this priceless tradition with our children. They already have their passports (T's 1 year old passport photo is sooo cute!), and have traveled out of the country.  

Last year we went to Florida with them, a non-stop flight for our first experience, which went quite well! Then a couple of months later my whole family took a Disney Cruise to the Caribbean for my mom's 60th birthday. That was a blast! We stopped in Grand Cayman, Costa Maya, Cozumel & Castaway Cay -- Disney's own private island. Truth be told, we only got off the ship in Castaway Cay, which was a beautiful beach perfect for toddlers to enjoy. Mexico was sooo hot with nothing for our age children to do (although the thought of sitting in a cantina or somewhere on the beach with a frozen drink in my hand sounded delightful!), and it was pretty windy in Grand Cayman, a port which you tender into. That was fine with us. On those days we played in the pools and splash pads with not many other people. 

Soon we will be departing on our second Disney cruise to Alaska (I'm 100% sure we'll be getting off the boat at all three ports). That's what really inspire this post and tutorial. Hey Disney, if you're listening, maybe you could sponsor our next trip, because I'm pretty excited about the Hawaiian cruises you've added for 2015! ;)

I've really been wanting to document our travels in our home with a pin map, but when I searched to buy one, they were really pricey What do I do when I want something that's outside of my ideal budget? Make it myself, of course! 

This took me all of 10 minutes and less than $20, and I love how it turned out! 

Supplies:
*A map of your choice (I chose a world map, for obvious reasons, which I purchased at Hobby Lobby for around $3 using my 40% coupon)
*Spray Adhesive (3M Super 77, which I already had)
*Insulation Board (about $13 at Home Depot for a 4'x8' sheet. Plenty left over for future projects!)
*Utility Knife

Step 1:

Unroll your map, and roll it up the other way. This will help quickly flatten your map out. I suppose you could lay it out and put books on it, but this way took about 5 seconds. 

Step 2:

Spray the back of your map (NOT the insulation board!) with the spray adhesive. I let it dry for about 30 seconds, so it's tacky and not wet. In college I used this Super77 spray a lot to make design boards. It's much cleaner than a brush on paste, and it makes your finished project lay nice and smooth.

Step 3:
Starting in a corner, attach your map to the insulation board, smoothing the map as you go, to ensure no bubbles or wrinkles. The spray adhesive allows the map to be re-positionable for a short amount of time.

Step 4:
Once your map is all adhered, take your utility knife and cut along the edge of your map. You can use a metal straight edge (like a ruler or large level) to be sure your cuts are clean, but I didn't, because I'm just that good... kidding. The insulation board is much easier to cut using a sharp knife than my other option - foam core board.

Step 5:
Step back and enjoy your new pin map!

See how easy that was? Now you can either frame it (my map is 50"x32", so a frame that large was not available) or attach it to your wall in some other creative fashion. Since I'm still loving the mirror in my half-bathroom, I decided to recreate that look with this map.


The tones in this map compliment the colors used throughout our playroom/formal living room. How did these two rooms end up in the space space? Kind of an oxymoron, but it's just one giant extra room that should be used as a formal living and dining room. I should call it our Christmas room rather than our "formal living room", since that's usually the only time we really sit in here other than to play. Either way, this adds a fun piece of artwork to the space, and a learning tool for the boys. Oh, and the blue of the water works nicely with my freshly painted built-in backs, which took my husband weeks to notice! Ha!

Linking Up To:
A Bowl Full of Lemons - One Project at a Time
Thrifty Decor Chicken - June Before & After
I Heart Nap Time - Link Party Palooza #44

2.20.2014

"Sweet Annie"

Why are a lot of my posts titled with song names? I'm a little corny, I suppose.

But this one is special, because it's more than just the name of a song, it's the name of our new puppy!

Annie is a Cavalier King Charles Spaniel, and she is super sweet! But she's been keeping us a little busier than usual (as if two little boys doesn't keep me busy enough...). I thought for a few days she had this potty training business down, but once it started to snow again and now rain, that went out the window. Her bladder must be the size of a pea...

Anyway, she's also been sleeping with us because I was worried about her yelping waking up our boys. However, I suck at "co-sleeping", that's been confirmed. And the fact that she prefers to sleep on my head doesn't make it any easier. But she's still sweet!

The boys are also in love with her, and she's helped to get us out of this horrible winter rut we seem to be stuck in with record snow fall here in Michigan. 


In house news - the tile in the entry, laundry room and half-bathroom has been ripped out, or should I say taken out by hand, because they were that loose. Most of the tile were just sitting on the underlayment, which is weird. But, new cement board is being installed as I type.

I successfully built the vanity this past weekend. It's stained, polyed (that's not a word...) and ready for a top, as soon as I make up my mind. Well, my mind would be made up if money were no object. Hmph, we'll see.

So, as soon as the tile is installed, we'll place the vanity, template for counter tops, and hopefully have our half-bathroom back in business in about a week! That's not before I finish the plank wall, prime it a few times, paint it a few times and poly it a few more times. Let's hope this coming weekend is productive!